


iPhone Xs Battery Replacement

Send this link via e-mail
|
Tweet |
|
Step 1 - Before You Start
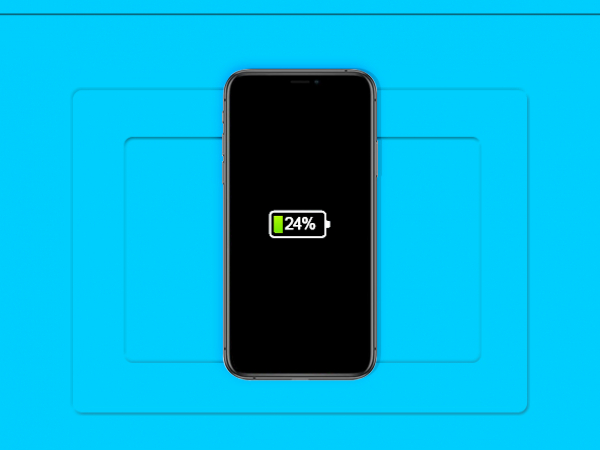
- Before you start with the repair, we recommend discharging the battery to below 25%.
- If the iPhone Xs battery is charged, it can explode and/or catch fire if punctured.Caution:
- If the battery is swollen, take adequate measures and precautions.
- Do not heat your phone.
- You can use isopropyl alcohol around the edges of the back cover to weaken the adhesive.
- Wear eye and hand protection when working with swollen batteries.


Step 2 - Opening The Phone
Back to top
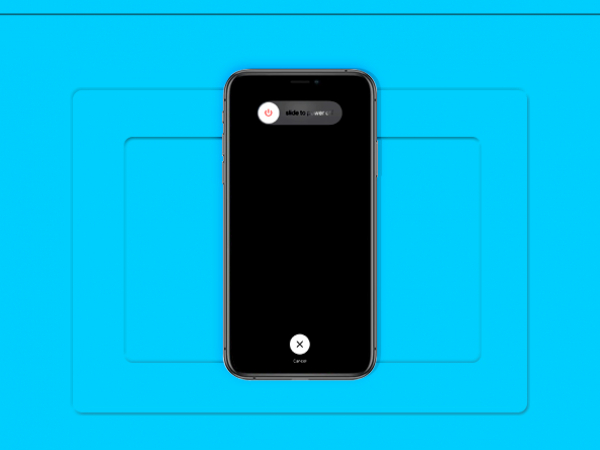
- Turn your iPhone off.
- Remove two 6.9mm pentalobe screws sitting at the bottom of the device.
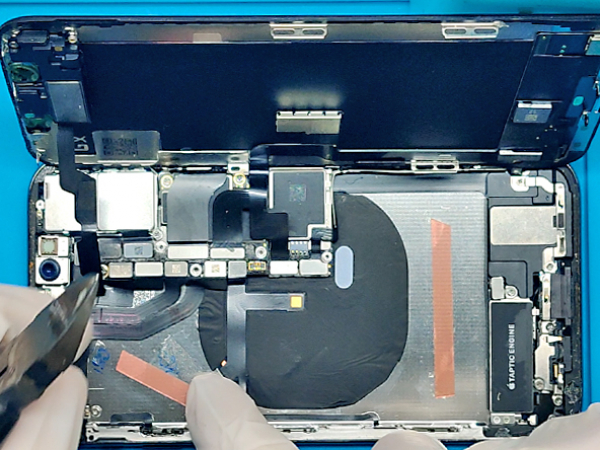
- Insert the opening tool around the lower-left corner.
- Slowly progress along the edges all around the phone.
- Twist the tool to increase the gap between the rear case and the display.
- To open the phone, pull the display up, and from the left, like a book's back cover.
- Do not disengage the display completely; several ribbon cables still attach it to the phone's logic board.Note:
- Opening the phone's display will jeopardize its waterproof features.
- Make sure you have prepared replacement seals before you go on with the repair.
- Otherwise, avoid exposure to liquid if you skip replacing the seals when reassembling the phone.


Step 3 - Disconnect The Battery
Back to top
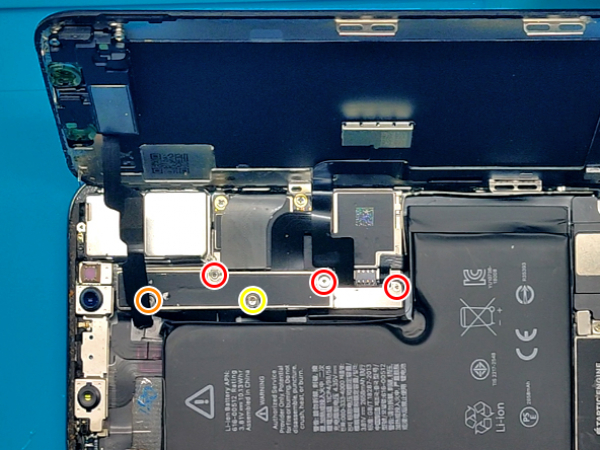
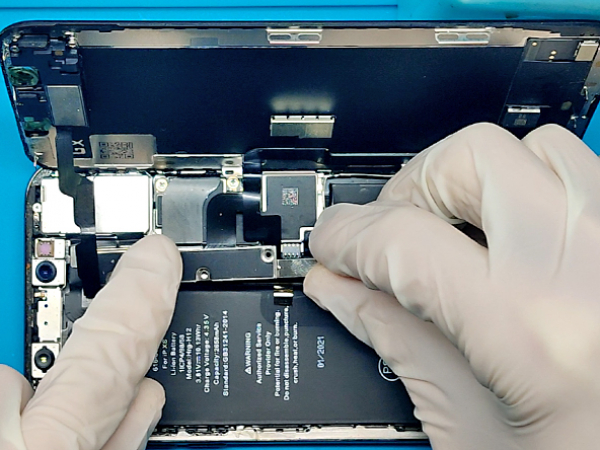
- Remove five screws that secure the logic board connector bracket.
- Three 1.0mm Y000 screws.
- One 1.3mm Y000 screw.
- One 3.7mm Phillips screw.
- Remove the connector bracket.
- The battery connector can be lifted out of its socket using the spurger's point or a fingernail.
- The connector cable should be bent up a bit to prevent contact with the socket which can result in power in the phone.Tip:
- Remember where each screw comes from so you can put them back where they belong to avoid damaging the iPhone.
Caution:
- When reconnecting the cables, press one end of the connector until it clicks back into place.
- Do the same on the opposite end.
- Avoid pressing down in the middle.
- A misaligned connector can cause the pins to bend.


Step 4 - Remove The Battery
Back to top
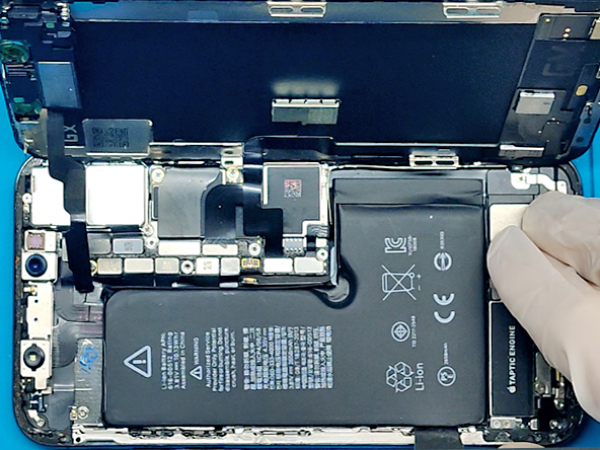
- OEM iPhone batteries should have adhesive strips underneath.
- Use your tweezers to pull them out.
- If that is not the case, use a spudger to ''dig out" the battery.


Step 5 - The New Battery
Back to top
- The new battery should have adhesive strips preinstalled, if not, use double-sided self-adhesive tape.
- Remove protective films and put the new battery in place.


Step 6 - Finish The Repair
Back to top
- Connect the battery to the logic board.
- Insert the metal bracket and secure it with 5 screws.
- Reverse the opening procedure and the repair is done.